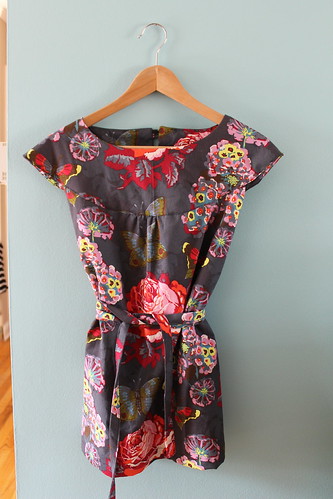
Amy Butler's Anna Tunic pattern in Anna Maria Horner's LouLouThi fabric... a beautiful paring, perfectly made by Missy!
Showing posts with label Flickr group. Show all posts
Monday, May 14, 2012
Made Monday
Labels:
amy butler,
Anna Maria Horner,
anna tunic,
customer showcase,
Flickr group,
loulouthi,
made monday
Monday, May 7, 2012
Made Monday
Labels:
cloud pillow,
customer showcase,
Flickr group,
handmade,
made monday,
Sasikirana,
sewing classes,
Softies
Monday, October 3, 2011
Made Monday
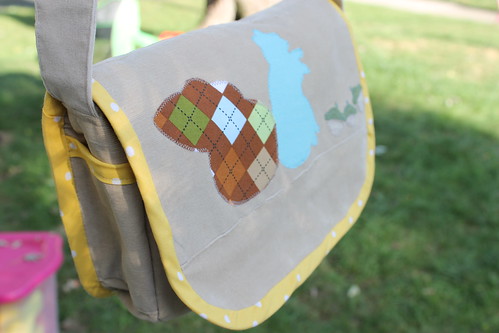
A cute and squirrely little messenger bag from the Oliver & S book, Little Things to Sew... made by Missy.
Labels:
Flickr group,
made monday,
Oliver and S
Monday, September 5, 2011
Made Monday
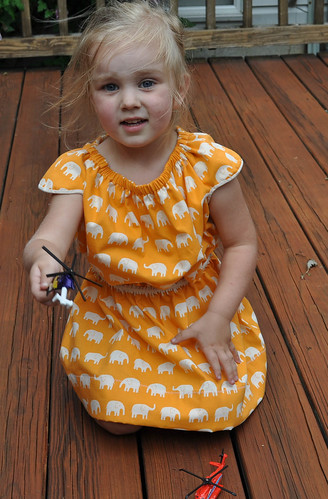
For this sweet little lady at play, a precious little Ballet Neck Toddler Dress in a fun elephant print . Made by LittleWit, pattern from One Yard Wonders.
Labels:
Flickr group,
made monday,
One Yard Wonders book
Tuesday, November 9, 2010
Anna Maria Horner, from Market to Shoppe
Anna Maria Horner's booth at Quilt Market, Fall 2010
I'm sure I've professed my love for Anna Maria before.. but just in case you've forgotten, "I LOVE Anna Maria Horner!!" In fact we all do. She has been a steady favorite since we first opened our doors. Each of her fabric lines have been just as special as the one before. Her newest line, Innocent Crush is certainly no exception. It is modern and romantic, infused with her brilliant eye for color and print. It is very Anna Maria, with references to past favorites.
I really enjoy how clearly we can see her progressions in design.

Not only do I adore Anna Maria's fabrics but I also truly admire her. Firstly, for continuing to produce amazingly creative work while simultaneously being a mother of six (a fact which leaves me completely baffled)! And secondly, for sharing herself so fearlessly on her blog. Meeting her has shown her to be just as genuine and clever in really life as she is there, not to mention even more beautiful then she looks in photographs.
Speaking of being more beautiful in real life, this too holds true for Innocent Crush. I'll admit it was not love at first sight when we saw the first photographic glimpses of this line, we were a bit unsure, but now having seen the cloth in hand, we have certainly fallen for it. So far we have received 9 of the quilting cottons, five of the home decor weight and three of the luscious velveteens. Bellow are photos of the quilting and home dec weights. I have not had the chance to photographed the velveteens yet.
We hope you delight in them as much as we are and we cannot wait to see what you make with them! As always we encourage you to share with us in our Sew To Speak Flickr group or via Facebook.
Plus Anna has already posted a Flickr group for all things made from Innocent Crush, so be sure to share there too.
♥
April
p.s. You can shop for Innocent Crush and other Anna Maria Horner prints right here! :)
Labels:
Anna Maria Horner,
designer fabric,
facebook,
Flickr group,
Innocent Crush,
Quilt Market,
sewing for home,
velveteen
Monday, September 27, 2010
Made Monday
Labels:
"customer showcase",
Flickr group,
made monday
Monday, July 26, 2010
Made Monday
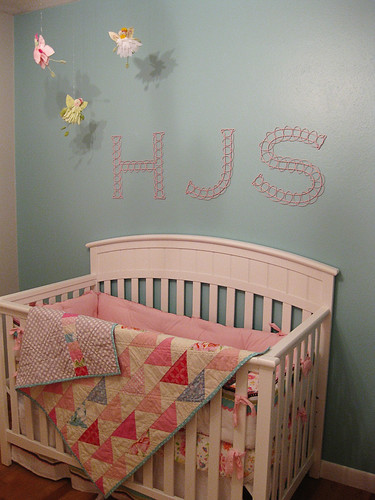
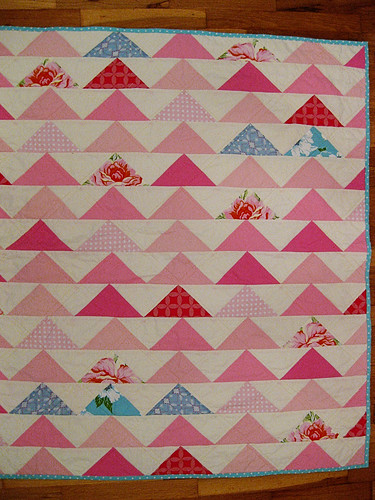
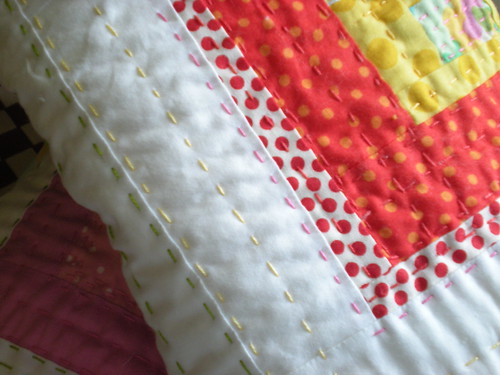
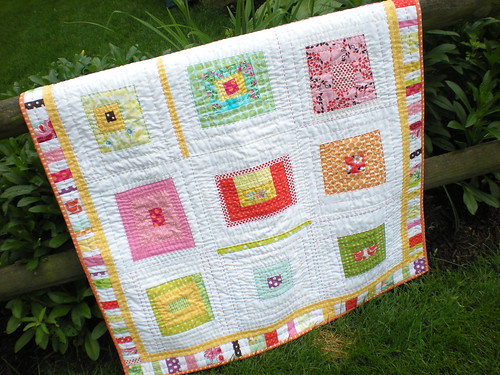
A sweetly subtle baby quilt in pinks and blues, made by Sam VanDerPuy. Pattern from the book Denyse Schmidt: Quilts
Monday, June 28, 2010
Made Monday
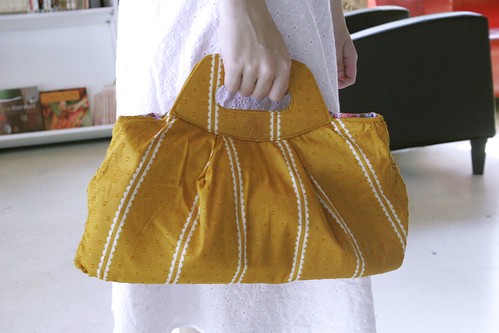
A lovely Marlo Bloom Handbag (Heather Bailey pattern) in Anna Maria's voile. Made by Diana of Atlanta.
Monday, May 24, 2010
Made Monday
Labels:
customer showcase,
Flickr group,
made monday,
Mary Dugan,
quilting,
sew to speak,
sewing projects
Monday, May 17, 2010
Made Monday
Labels:
customer showcase,
Flickr group,
Hazelnut Designs,
made monday,
quilting,
sew to speak,
sewing projects
Monday, May 10, 2010
Made Monday
Labels:
customer showcase,
embroidery,
Flickr,
Flickr group,
sew to speak,
sewing books,
sewing for baby,
sewing projects
Monday, May 3, 2010
Made Monday
Labels:
Anna Maria Horner,
customer showcase,
Flickr,
Flickr group,
Good Folks,
patchwork,
sew to speak,
sewing for home,
sewing projects
Wednesday, July 29, 2009
23 days...
Long time no blog....
My sincere apologies.
Please don't assume that because I haven't posted there is not much going on around here.
There's certainly been plenty to post about. I just haven't made the time to do it. :(
I'll make this up to you!
I have a special little project in the works.
I promise I'll be back with that soon.
Blog you then,
April
p.s. photo's in this post are of Joel Dewberry's awesome new line "Deer Valley". They have no actual relation to this post or said project. They're just one of the many things I could have blogged about over the last 23 days :)
Ohhh... and check out how one of our brilliant customers is using these new prints... HERE... in a photo from our flickr group.
Labels:
"Deer Valley",
fabric,
Flickr group,
Joel Dewberry,
sew to speak
Saturday, November 29, 2008
How To: Anita's No Sew Snowflakes
My mom came up with this idea for our next store front display. Of course I had to jump in and make some,then I thought... why not write a simple "how to"?
Well okay, so here's my first "how to" post.
Enjoy.
Quick, easy and fun, this no sew project is a great project for a case of the "I'm bored" blues, or perhaps for the "I have so much to do that I don't want to, so I'll do this instead" blues. Anyhow, for what ever the reason you should give it a try. Make then on your own, involve a friend or the kiddies. Anyone who is safe with scissors can do this one.
It's just like paper snowflakes you may have made when you were a kid (or last year), except with fabric and that o' so wonderful "WonderUnder" also known as heat and bond.
You will need:
several coordinating fabrics
heat and bond
sharp scissors
rotary cutter
straight edge/acrylic grid ruler
cutting mat
Note: I used 6 coordinating fat quarters and about 2 yards of WonderUnder (you could also use some of those scraps I know you have stowed away some where).
Here's the step by step..
1. Fuse 2 coordinating prints together following the instructions that came with your "WonderUnder" (I used Pellon brand)
2. Cut several squares in various sizes, for best results I recommend cutting no larger then 8"x8" and no smaller then 3"x3".
3. Take your squares to the ironing board. One at a time, fold each square diagonally to form a triangle and press. Fold a second time to form an even smaller triangle, and press once more on either side, holding for a few seconds (the flatter the better).
4. Now for the cool part. Take your pressed triangles and cut into all three sides. Experiment with the different shapes and sizes of your cuts. Curvy cuts have a great effect.
5. Unfold.
6.Press out, admire and smile. No two snowflakes are ever the same.
Now cut some more and have a good time. String them up and hang them anywhere you need a little cheer. Note: you may want to use a heavy starch for your final pressing to achieve a stiffer flake for hanging purposes.
Feeling ambitious? Try appliquéing your snowflakes on some tea towels, a child's t-shirt or any project you like. For the purpose of appliquéing there is no need to make your flake double-sided, simply iron on your heat and bond to the wrong side of your fabric leaving the paper backing attached while continue on with the rest of the steps. Remove backing when you are ready to iron onto t-shirt or other, then finish off with a tiny whip stitch in a thread matching your snowflake fabric.
Share with us what you make, this project or any other at our new shoppe flickr group.
We love seeing what you've made from the fabrics we sell.
Your Shoppe Blogger,
April
Well okay, so here's my first "how to" post.
Enjoy.
It's just like paper snowflakes you may have made when you were a kid (or last year), except with fabric and that o' so wonderful "WonderUnder" also known as heat and bond.
You will need:
several coordinating fabrics
heat and bond
sharp scissors
rotary cutter
straight edge/acrylic grid ruler
cutting mat
Note: I used 6 coordinating fat quarters and about 2 yards of WonderUnder (you could also use some of those scraps I know you have stowed away some where).
Here's the step by step..
1. Fuse 2 coordinating prints together following the instructions that came with your "WonderUnder" (I used Pellon brand)
5. Unfold.
Feeling ambitious? Try appliquéing your snowflakes on some tea towels, a child's t-shirt or any project you like. For the purpose of appliquéing there is no need to make your flake double-sided, simply iron on your heat and bond to the wrong side of your fabric leaving the paper backing attached while continue on with the rest of the steps. Remove backing when you are ready to iron onto t-shirt or other, then finish off with a tiny whip stitch in a thread matching your snowflake fabric.
Share with us what you make, this project or any other at our new shoppe flickr group.
We love seeing what you've made from the fabrics we sell.
Your Shoppe Blogger,
April
Labels:
famliy project,
Flickr group,
handmade,
no sew,
sew to speak
Friday, November 21, 2008
Share With Us!
I (April) recently created a Flickr group for the shoppe. Actually for all of you who shop at "the Shoppe" to share the goodies that you've made out of our fabrics, with us and with one another. If you're already a Flickr member it is really easy to add your pictures to our group. Just join our Flickr group here and then go to your own photostream, view a photo you'd like to share with us, above it you will find an "send to group" button, select our "Sew To Speak" group, and your pic is in. If you are not a flikr member you may consider joining, it's free, easy and lots of fun, click on the flickr link above to see more.
We would truly be delighted if you shared with us. We'd especialy love to see all of the handmade gifts you're giving this year.
On behalf of The Sew to Speak Team - Thank you for being a part of our shop and our lives. Happy Days to all of you and your families!!
April Rhodes.
Labels:
columbus ohio,
Flickr group,
sew to speak,
shoppe
Subscribe to:
Posts (Atom)